How To Do A Granite Backsplash Well
Blog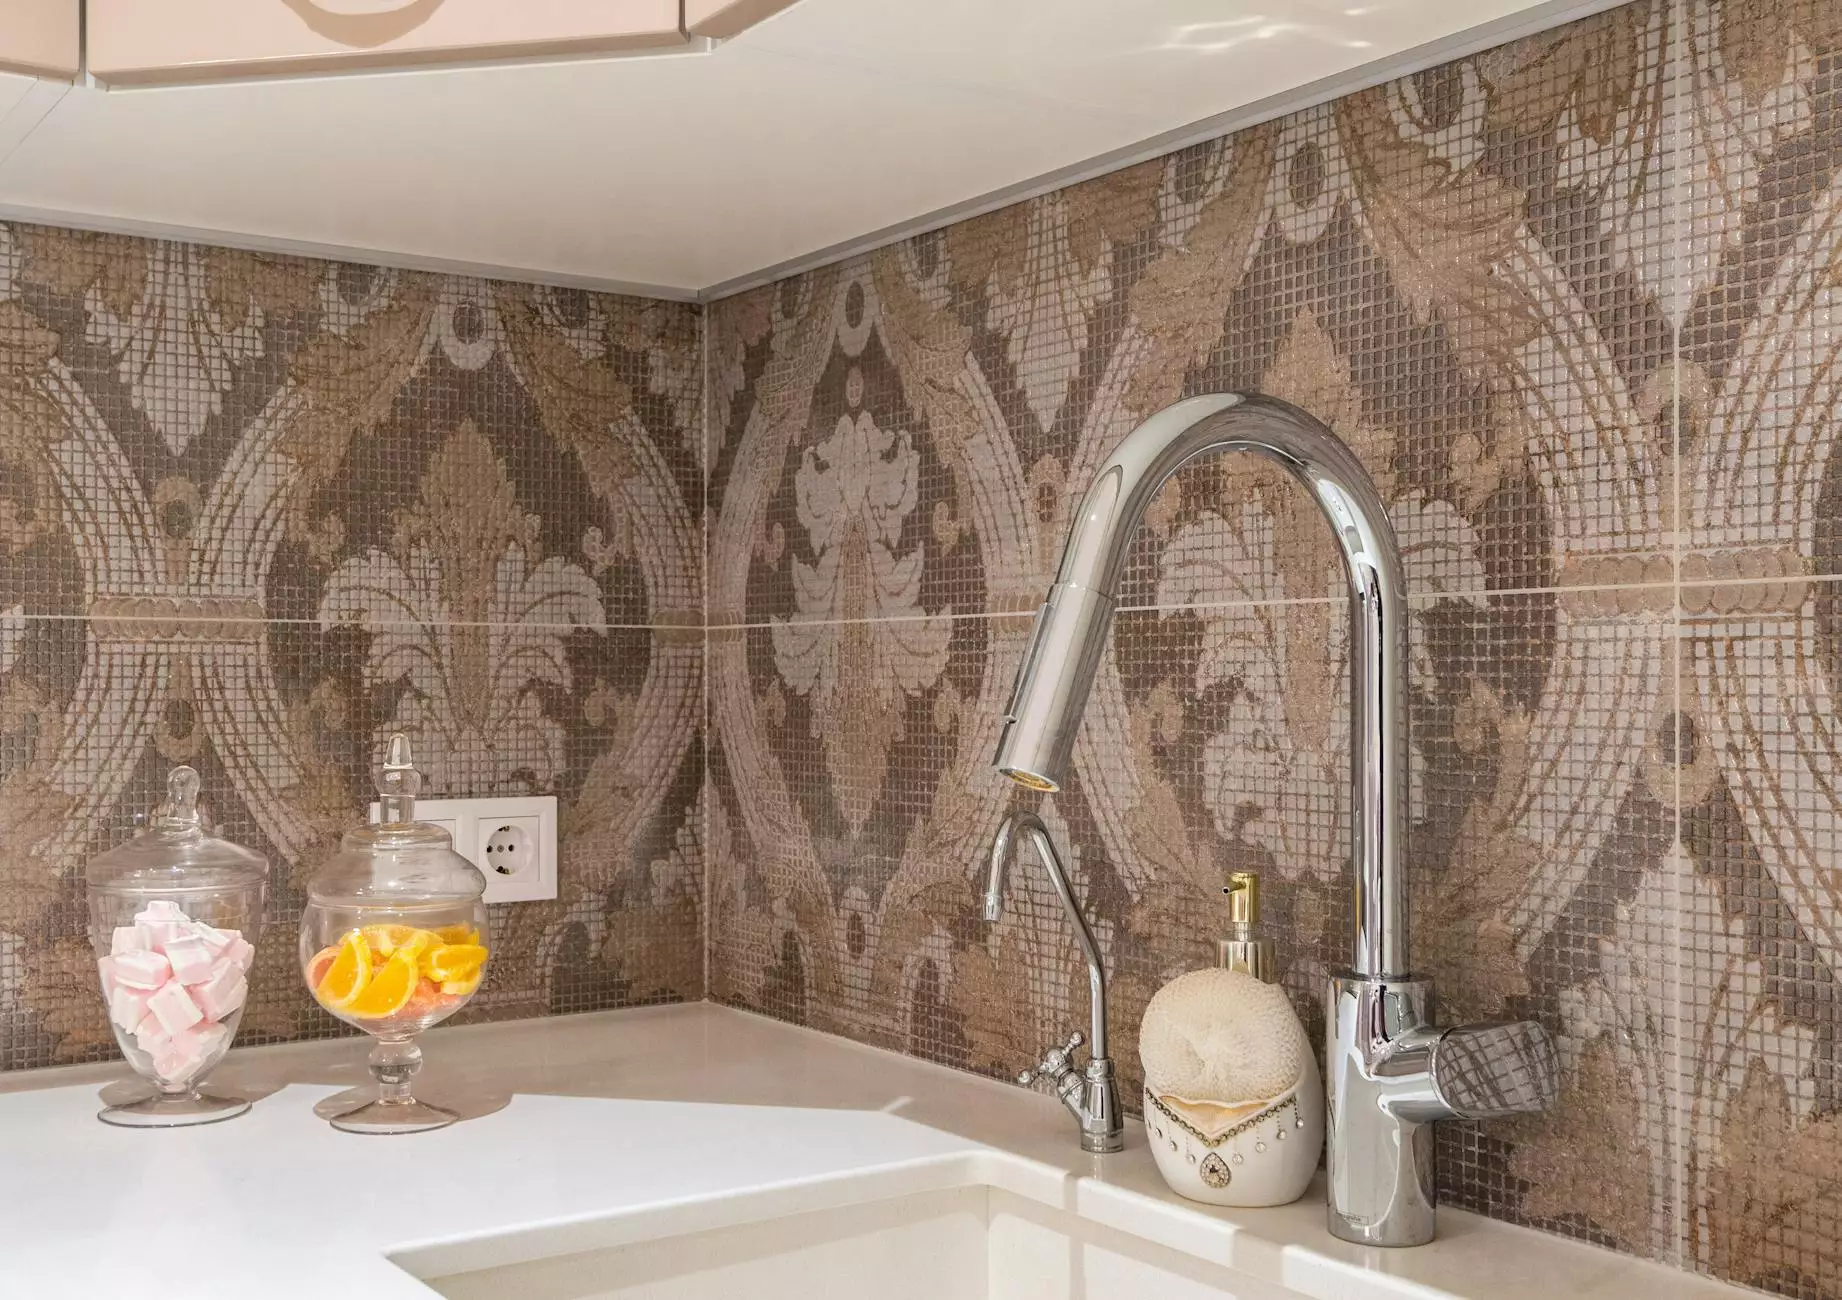
Introduction
Welcome to GraniteCO, your trusted partner in home improvement and maintenance services. In this comprehensive guide, we will walk you through the process of installing a granite backsplash to enhance the beauty and functionality of your kitchen or bathroom.
Why Choose Granite Backsplash?
Granite backsplash is a popular choice among homeowners due to its durability, elegance, and versatility. It not only adds a touch of luxury to your space but also protects your walls from stains, splashes, and moisture damage. Here's why you should consider a granite backsplash:
- Unmatched Durability: Granite is a natural stone known for its strength and resilience, making it ideal for areas prone to moisture and high usage.
- Timeless Beauty: With its unique patterns and colors, granite adds a touch of sophistication and elegance to any space, creating a timeless look that complements various interior styles.
- Easy Maintenance: Granite backsplashes are easy to clean and maintain, requiring minimal effort to keep them looking pristine for years to come.
- Increased Property Value: Installing a granite backsplash is not only an investment in the aesthetic appeal of your home but also adds value to your property.
Materials and Tools
Before you begin your granite backsplash installation, it's essential to gather the necessary materials and tools. Here's a list of items you'll need:
- Granite Tiles: Measure the area you want to cover and purchase enough granite tiles accordingly.
- Tile Adhesive: Choose a high-quality adhesive specifically designed for granite tiles.
- Notched Trowel: This tool helps you spread the adhesive evenly on the wall.
- Tile Spacers: These small plastic inserts ensure consistent spacing between tiles.
- Grout: Select a grout color that complements your granite tiles.
- Grout Float: A rubber float that aids in applying and smoothing the grout.
- Sponge and Bucket: Essential for cleaning excess grout and keeping tiles tidy.
- Tile Cutter: Used to cut tiles to fit around outlets, corners, or edges.
- Level and Measuring Tape: Ensure accuracy and straight lines.
- Safety Gear: Don't forget protective goggles, gloves, and a mask.
Step-by-Step Installation Guide
Step 1: Preparation
Start by thoroughly cleaning the wall surface where you'll be installing the granite backsplash. Remove any existing tiles, wallpaper, or debris to ensure a smooth and level base. Protect your countertops and cabinets with a drop cloth or masking tape.
Step 2: Layout and Design
Plan the layout of your granite tiles, considering the size and shape of the area you're covering. Use tile spacers to maintain an even gap between tiles for a professional finish.
Step 3: Applying Adhesive
Using a notched trowel, apply the tile adhesive to the wall in small sections. Hold the trowel at a 45-degree angle and create even ridges in the adhesive to ensure strong adhesion.
Step 4: Installing Granite Tiles
Carefully press each granite tile into the adhesive, aligning it with the layout you’ve planned. Use a level to check for proper alignment and adjust if needed. Continue this process until all tiles are in place.
Step 5: Grouting
Once the adhesive has dried, remove the tile spacers and prepare the grout according to the manufacturer's instructions. Use a grout float to apply the grout, ensuring that it fills the gaps between the tiles completely. Wipe away excess grout with a damp sponge, working diagonally across the tiles to avoid pulling grout out.
Step 6: Final Touches
Allow the grout to cure for the recommended time and then lightly polish the tiles with a clean, dry cloth. Clean the entire area using a mild cleaner, and admire your new, beautifully installed granite backsplash.
Expert Tips and Considerations
Here are some additional tips to ensure the success of your granite backsplash installation:
- Sealing: Apply a granite sealer to protect your tiles from stains and enhance their longevity.
- Precision Cutting: Take your time to measure and cut the tiles accurately for a professional-looking outcome.
- Smooth Grout Lines: Use a grout finishing tool to create smooth and uniform grout lines.
- Proper Ventilation: Make sure the room is well-ventilated during the installation process to minimize exposure to fumes.
Contact GraniteCO for Professional Assistance
If you're unsure about tackling a granite backsplash installation yourself, or if you simply prefer to leave it to the experts, GraniteCO is here to help. Our team of experienced professionals specializes in home improvement and maintenance services, ensuring exceptional results and customer satisfaction. Contact us today for a consultation and let us transform your space with a stunning granite backsplash.


